

I see it happen all the time. A designer or brand owner walks into the meeting room with a beautiful, highly detailed sketch of a sneaker or a heel. They are excited, and they should be. But there is a massive gap between a drawing on an iPad and a physical shoe that doesn't fall apart after ten miles of walking.
If you are stepping into custom shoe design and manufacturing for the first time, you might think the process is a straight line: you send a tech pack, we make a shoe, and you sell it. The reality on the factory floor is a lot messier, a lot more detailed, and heavily reliant on trial and error.
Let me walk you through exactly what happens behind the closed doors of a shoe factory. We’ll skip the marketing fluff. Here is how your shoes are actually built, the hurdles we usually face, and how you can avoid the costly mistakes that trap so many new brands.
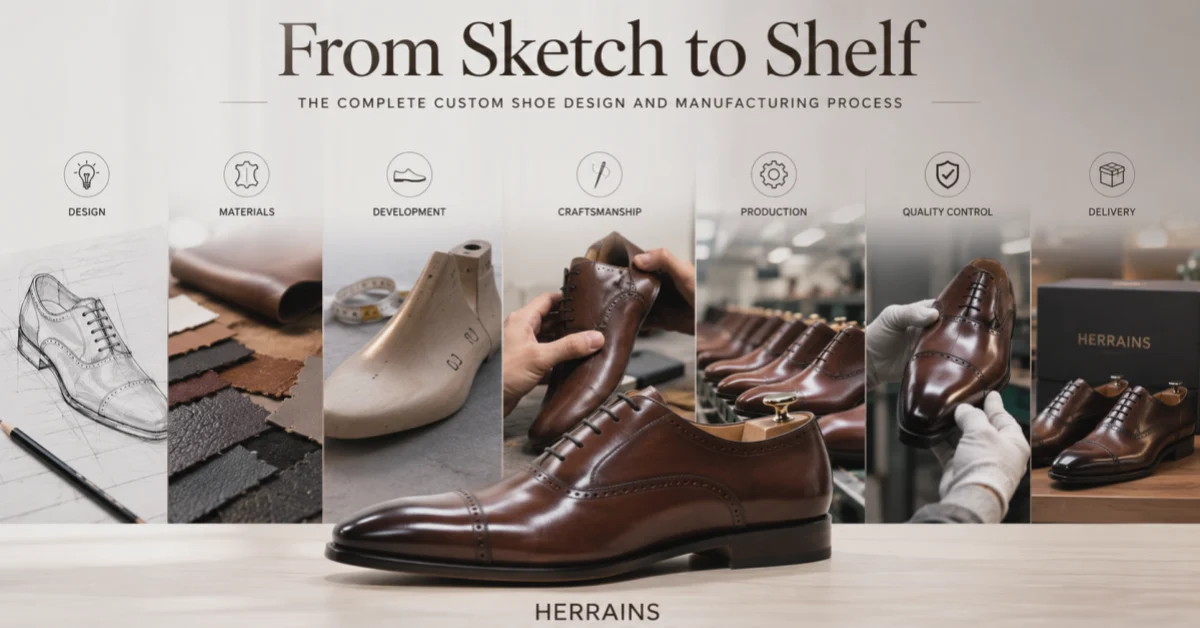
Step 1: Building the Skeleton (Shoe Last Development)
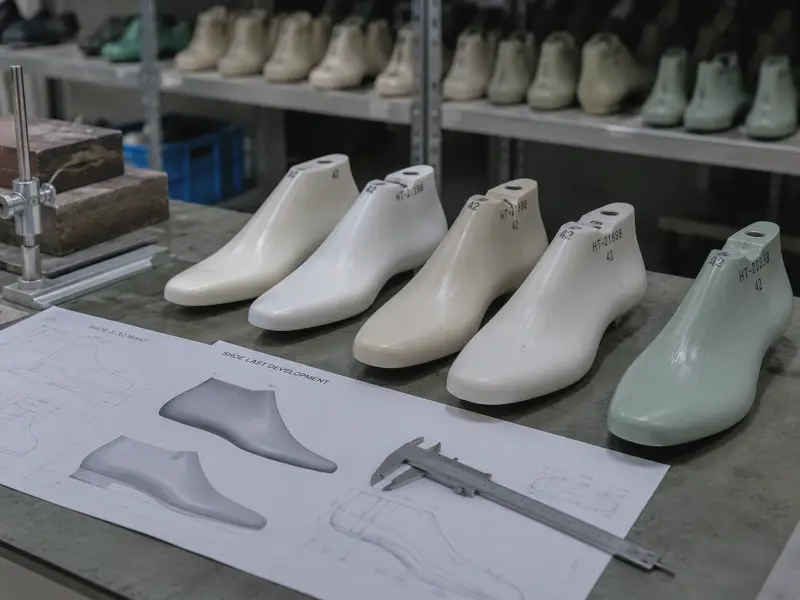
Before we even look at f abrics, we have to talk about the "last." If you don't get this right, nothing else matters.
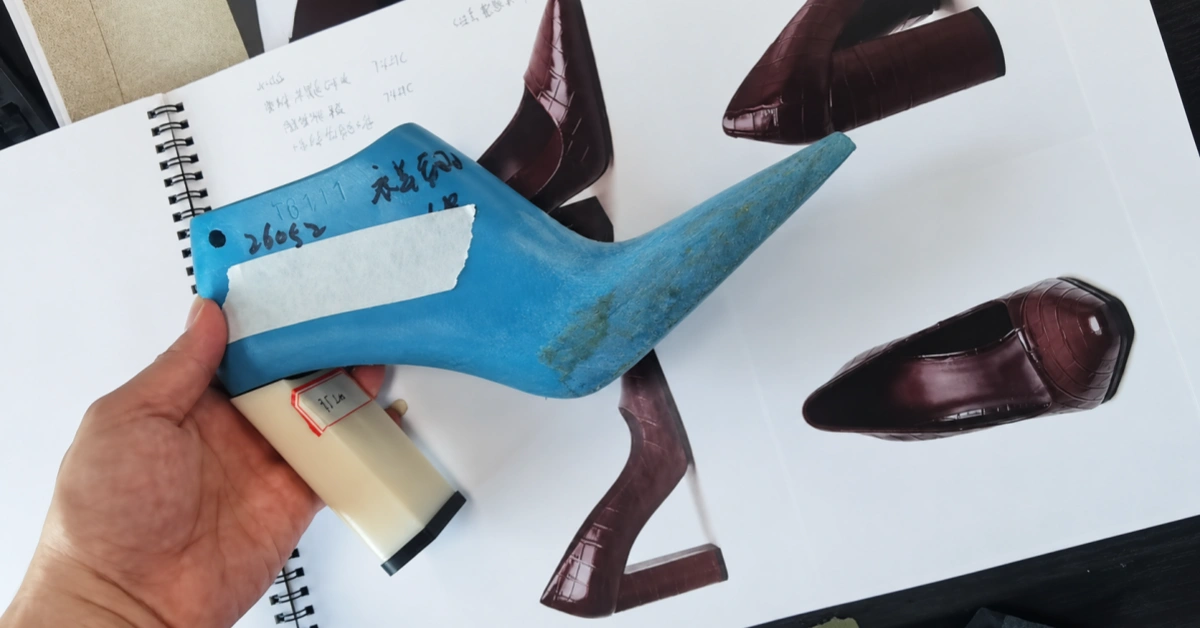
Shoe last development is the absolute foundation of footwear. Think of the last as the physical body or skeleton of your shoe. It is a 3D mold—traditionally carved from wood, but nowadays mostly CNC-milled from high-density plastic—that mimics the shape of a human foot.
But it’s not just a generic foot. The last dictates the toe spring (how much the toe curls up), the heel pitch (for high heels), the width, and ultimately, the comfort.
The Factory Reality: One common mistake we see is brands trying to use the exact same last for different styles. You cannot put a thick winter boot pattern on a sleek sneaker last and expect it to fit. If the last is wrong, the shoe will pinch, rub, and look awkward. We spend a lot of time tweaking the 3D files of the last before we mill it, because every millimeter here defines how your customer will feel when they put the shoe on.
Step 2: The 2D Map (Shoe Pattern Making)
Once we have the last, we need to figure out how to wrap materials around it. This is shoe pattern making.
Our pattern makers take masking tape, wrap it tightly around the 3D last, draw the design lines directly onto the tape, and then peel it off to flatten it out. These flattened pieces become the 2D paper (or digital CAD) patterns used to cut the leather or fabric.
The Factory Reality: This is highly technical work. Materials do not behave uniformly. Leather stretches differently depending on the direction of the grain; canvas barely stretches at all. If you switch your design from a soft, thin leather to a thick, rigid suede, the original pattern will not work. The thicker material will eat up the volume inside the shoe, making the fit too tight. A good pattern maker anticipates this and adjusts the paper grading accordingly.
Step 3: Finding the Right Stuff (Footwear Material Sourcing)
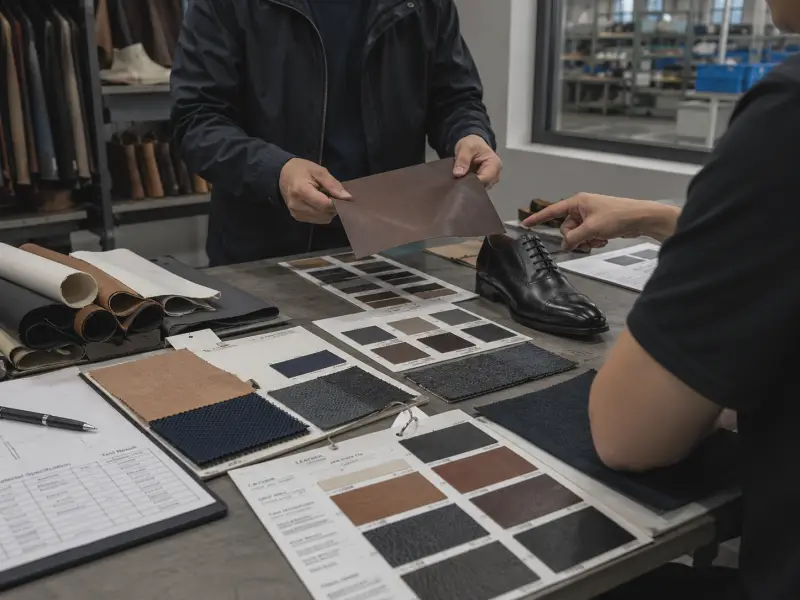
You probably have a vision for how your shoe looks and feels. Our job during footwear material sourcing is to match that vision with materials that can actually survive the manufacturing process.
We head to the material markets to find the right leathers, meshes, linings, and foams. But we aren't just looking at color. We are looking at tear strength, colorfastness, and thickness.
The Factory Reality: I often have to tell clients, "We can't use this material for this design." Why? Because if an upper material is too stiff or brittle, it will crack or fight against us when we try to pull it tightly over the last (a process called lasting). If the lining material doesn't breathe, your customers will complain about sweaty feet. Sourcing is a balancing act between aesthetics and factory-floor mechanics.
Step 4: The Bottom Line (Custom Outsole Development)
If you are using an open-market ("public") sole, things are simple. But if your brand needs a unique, branded sole, we enter the world of custom outsole development.
This involves creating a 3D CAD design of the sole, 3D printing a rapid prototype for you to hold, and then opening heavy steel molds to inject rubber, EVA, or TPR.
The Factory Reality: Here is a hard truth about custom soles: you have to pay to open a new steel mold for every single shoe size. If your size run goes from EU 36 to 45, that is 10 different molds. It gets expensive fast. My advice? If you are a startup on a tight budget, consider starting with a high-quality public sole and customizing the upper. Save the custom tooling for when you have proven your sales volume.
Step 5: The First Look (Prototyping & Sampling)
Now we finally put it all together. Custom shoe prototyping is usually the most emotional part of the process for brand owners because you finally get to hold your idea in your hands.
During shoe sample development, we hand-cut the materials, stitch them together, and hand-last the shoe. This first sample (often called a pullover or 1st prototype) is almost never the final version.
The Factory Reality: Expect the first sample to have issues. The proportions might look slightly off, the collar might sit too high on the ankle, or the color combination might clash in real life. That is completely normal. The sample room is where we argue over 2 millimeters of stitching. We typically go through two or three sample rounds before the brand gives the final "golden sample" sign-off. Do not rush this phase.
Step 6: The Assembly Line (Production & Upper Manufacturing)
Once the golden sample is approved, we move to bulk production. The footwear production process is essentially a highly orchestrated assembly line split into two main sections: stitching and assembly.
First is shoe upper manufacturing. We die-cut the materials, skive the edges (thinning the leather so the seams aren't bulky), and stitch the upper pieces together.
The Factory Reality: Stitching is where we see the skill level of the workers. If the needle tension is too tight, the leather puckers. If the stitch density (stitches per inch) is too high on a fragile material, it acts like a perforated tear-line on a notepad, and the shoe will rip under stress.
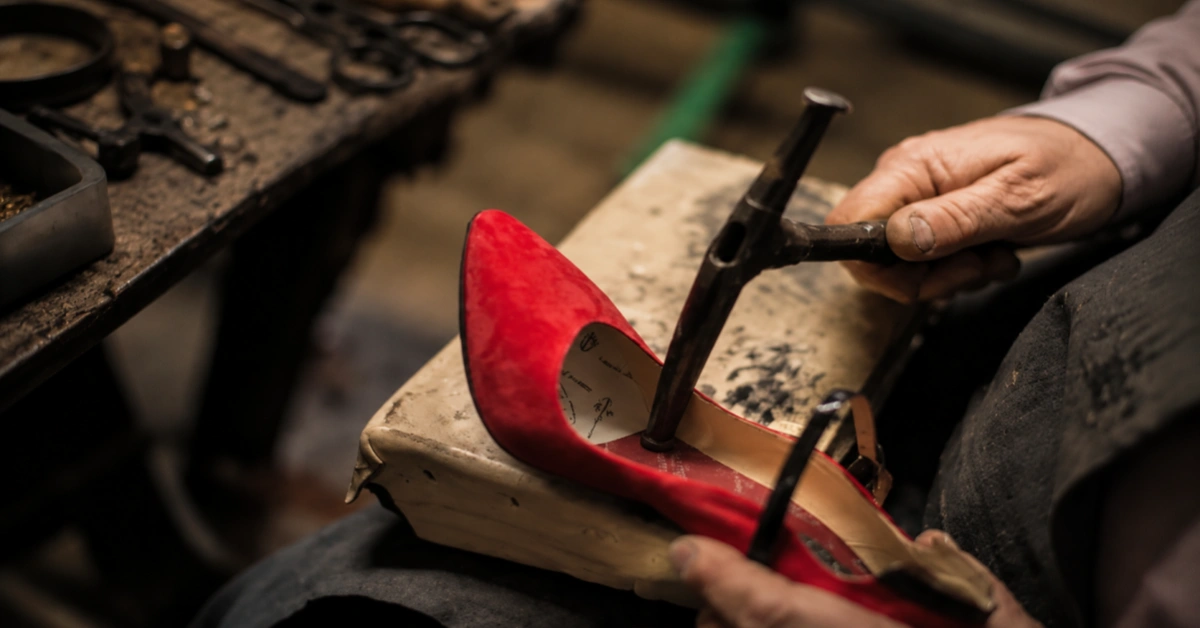
Next comes lasting and bottoming. The stitched upper is heated to make it pliable, pulled tightly over the last by a machine, and glued to the sole. The type of glue matters immensely. If the factory rushes the curing time of the thermal glue in the heating tunnels, or if the primer isn't applied correctly, the sole will peel off after a few wears.
Step 7: Catching the Flaws (Shoe Quality Control)
A shoe might look great on the conveyor belt, but it has to survive the real world. Proper shoe quality control (QC) isn't just about snipping loose threads and wiping off excess glue.
The Factory Reality: In a professional QC setup, we pull random pairs from the production line and try to destroy them. We use machines to bend the shoe 50,000 times to ensure the sole doesn't crack. We do peel tests to measure the exact bonding strength between the upper and the outsole. We check for color transfer (crocking) to ensure the black leather lining doesn't stain the wearer's white socks. Only when a batch passes these physical tests is it boxed and shipped.
The Custom Shoe Factory Timeline at a Glance
To help you plan, here is a realistic breakdown of how a project moves through our facility:
Frequently Asked Questions (FAQ)
1. Why does shoe sample development take so long? Because a sample isn't pulled from an assembly line. It is built largely by hand by senior technicians. Every new material behaves differently, requiring micro-adjustments to the pattern and the stitching machines before the shoe looks right.
2. Can I make design changes after seeing the first prototype? Yes, absolutely. The first prototype is a diagnostic tool. You can adjust the collar height, change the panel shapes, or swap materials. However, if you want to change the fundamental toe shape or heel height, we have to make a brand new last, which will restart the timeline.
3. Why do factories require Minimum Order Quantities (MOQs)? Shoe manufacturing requires a massive setup. We have to buy materials in bulk rolls, set up clicking dies (cutting molds) for every piece, and configure a lasting line that involves dozens of workers. Small batches (like 20 pairs) simply don't cover the setup time and material wastage.
4. What is the biggest mistake new brands make? Prioritizing a cool design over factory feasibility. Sometimes a sketch looks incredible, but physically connecting those materials requires bulky seams that ruin the fit. A good factory partner will tell you when a design needs to be modified for actual human feet.

Looking for a Reliable Factory Partner?
Navigating the custom shoe manufacturing space is tough, but you don't have to do it blind. At Xinzirain, we operate as an extension of your brand. Whether you are a startup looking to get your first prototype perfect, or an established label needing a reliable partner to handle scaling bulk production, our project managers and sample room technicians know what it takes to get it done right.
Stop guessing about lasts, patterns, and glue types. Let us handle the factory floor so you can focus on building your brand. Contact Xinzirain today to discuss your custom shoe design, and let's get your first sample into production.